
티스토리 뷰
git허브에 있는 script를 실행해보기
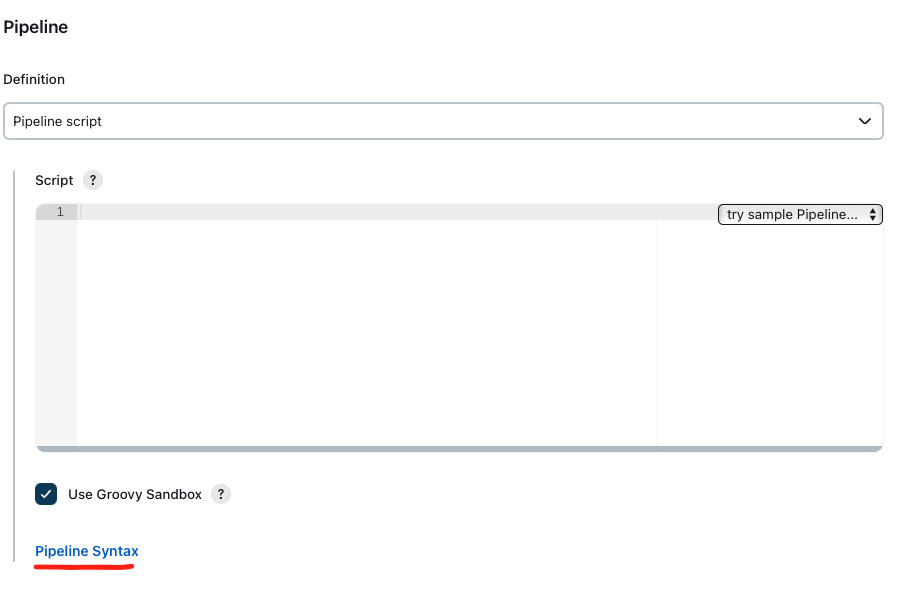
새로운 item을 Pipeline으로 생성
하단의 syntax클릭
스크립트 git 주소
https://github.com/joneconsulting/jenkins_cicd_script/tree/master/pipeline_script
하단의 steps에 밑과같이 작성

generate Pipline Script를 누르게되면 밑에 빨간줄에 글이뜨는데 복사해서 가져가줍시다.
복사한 주소를 밑의 sgeate('Git clone')안의 steps에 기입해줍시다.

script전체 코드 내용
pipeline {
    agent any
    stages {
        stage('Git clone') {
            steps {
                git 'https://github.com/joneconsulting/jenkins_pipeline_script';
            }
        }

        stage('Compile') {
            steps {
                echo "Compiled successfully!";
                sh './build.sh'
            }
        }

        stage('JUnit') {
            steps {
                echo "JUnit passed successfully!";
                sh './unit.sh'
            }
        }

        stage('Code Analysis') {
            steps {
                echo "Code Analysis completed successfully!";
                sh './quality.sh'
            }
        }

        stage('Deploy') {
            steps {
                echo "Deployed successfully!";
                sh './deploy.sh'
            }
        }
    }
}
저장후 빌드해보면

git clone부터 deploy까지 작성한 순서대로 잘 보이는 모습이다.
결과를 출력해주는 post 추가해보자
post 내용
    post {
      always {
        echo "This will always run"
      }
      success {
        echo "This will run when the run finished successfully"
      }
      failure {
        echo "This will run if failed"
      }
      unstable {
        echo "This will run when the run was marked as unstable"
      }
      changed {
        echo "This will run when the state of the pipeline has changed"
      }
    }
steage밑에 위 코드를 추가해주고 빌드를해보면

post action 까지 잘 추가된 모습
log도 확인하고싶다면
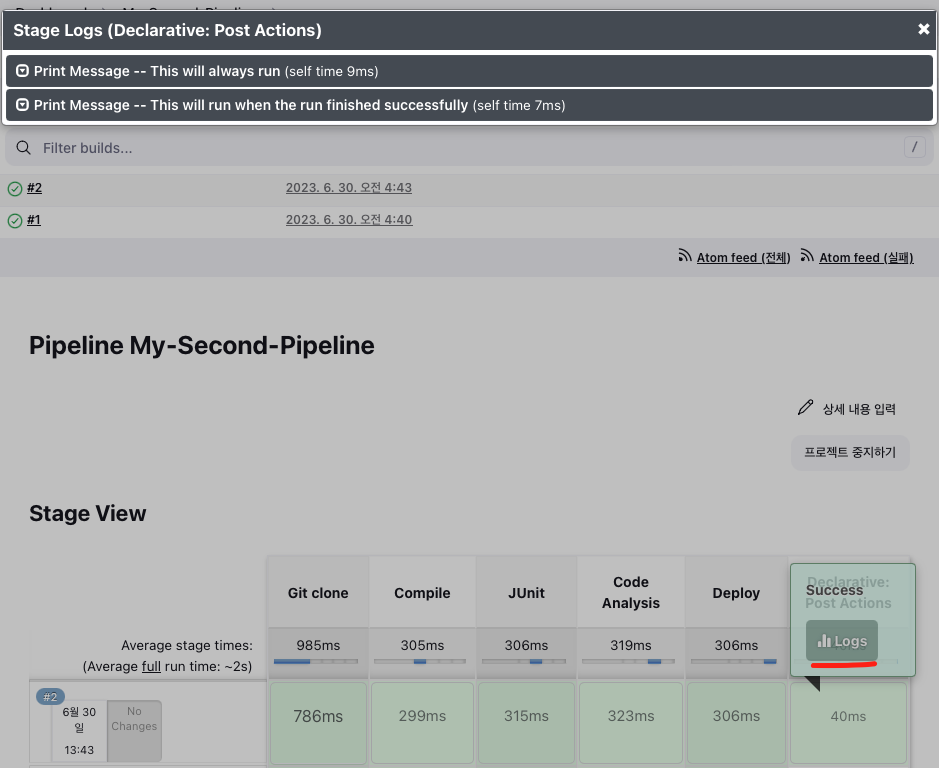
post action에 마우스를 올려보면 logs라고 나타나는데 눌러보면 해당 로그를 확인할 수 있다.
'CI CD > JenKins' 카테고리의 다른 글
| Jenkins(Mac m1) 21 Pipeline Dokcer container에 배포 (0) | 2023.06.30 |
|---|---|
| Jenkins(Mac m1) 20 Pipeline Maven Build Deploy on Tomcat (0) | 2023.06.30 |
| Jenkins(Mac m1) 18 Pipeline script (0) | 2023.06.30 |
| Jenkins(Mac m1) 17 Advanced (Delivery Pipeline) 시각화 (0) | 2023.06.30 |
| Jenkins(Mac m1) 17 CI/CD 자동화 프로세스 만들기 (0) | 2023.06.30 |